Last night was class three of my fondant and gum paste course. We learned how to make leaves, daisies and mums. It was the least intense course...or I'm just getting used to all the work!
Leaves
We started by cutting out the shapes for the leaves for the roses, carnations, and lilies along with just regular leaves. We started with the calla lilies, they were the easiest. Just a medium round circle cut in half, take one half, put a little gum glue and wrap it around the bottom of the flower. That's it!
The other two were slightly more work. For the rose, we cut out a flower (a pointed petal one), rolled it out on our small foam piece, put a little gum glue and then slide it up the noodle (if it was still there) and slightly bent the leaves out a bit. The carnation leaves are leaves are basically the same, only you cover it completely in gum glue and cover the whole Here is how they turned out.
We also cut out little leave with the leaf cutter and then used the veining tool (or dentist tool, as I like to refer to it) to thin it out and put some definition to them and then folded them in half to give them some depth.
 |
| It's hard to see, but they look cute. |
Finally, before we moved on, the teacher brought in pearl dust for our carnations, if we wanted to try, which I did. They make them look so pretty and even more realistic!
Daisies
Next we moved onto the daisies. These were made with straight gum paste that we had to roll out quite thin.
We were given two daisy cutters in our kits, out teacher told us that they are suppose to be two different sizes, but the majority of the time they are the same size. It turns out that I had two of the larger ones, but luckily there was another woman in the class who had two of the smaller ones, so we just switch. After this, our teacher also told us that these cutters are not hat good at cutting, so she has found that putting the gum paste on top and rolling it over the cutter actually cuts the gum paste easier. I did this for the daisies, but forgot for the mums, although I didn't find it made a huge difference, they still didn't cut well.
 |
| Rolled gum paste over the cutter. |
 |
| Peeling away... |
 |
| Perfect little flower |
Then we placed the cut flowers in these forming cups which make the flowers curve up. For the daisies, you use two cut flowers, place them one on top of the other, off setting them, with a little gum glue in the middle to hold them together.
While the flowers dried together, we made the centers. I went out and bought some yellow sugar to put on the centers to see how it made them look. I like the extra sparkle it gives the flowers, especially for white ones, it gives them a little more pop.
 |
I felt my centers looked more like clown noses then daisy centers,
but my teacher said that it just depends on whether you want
real looking ones or not when determining the size of the
centers. |
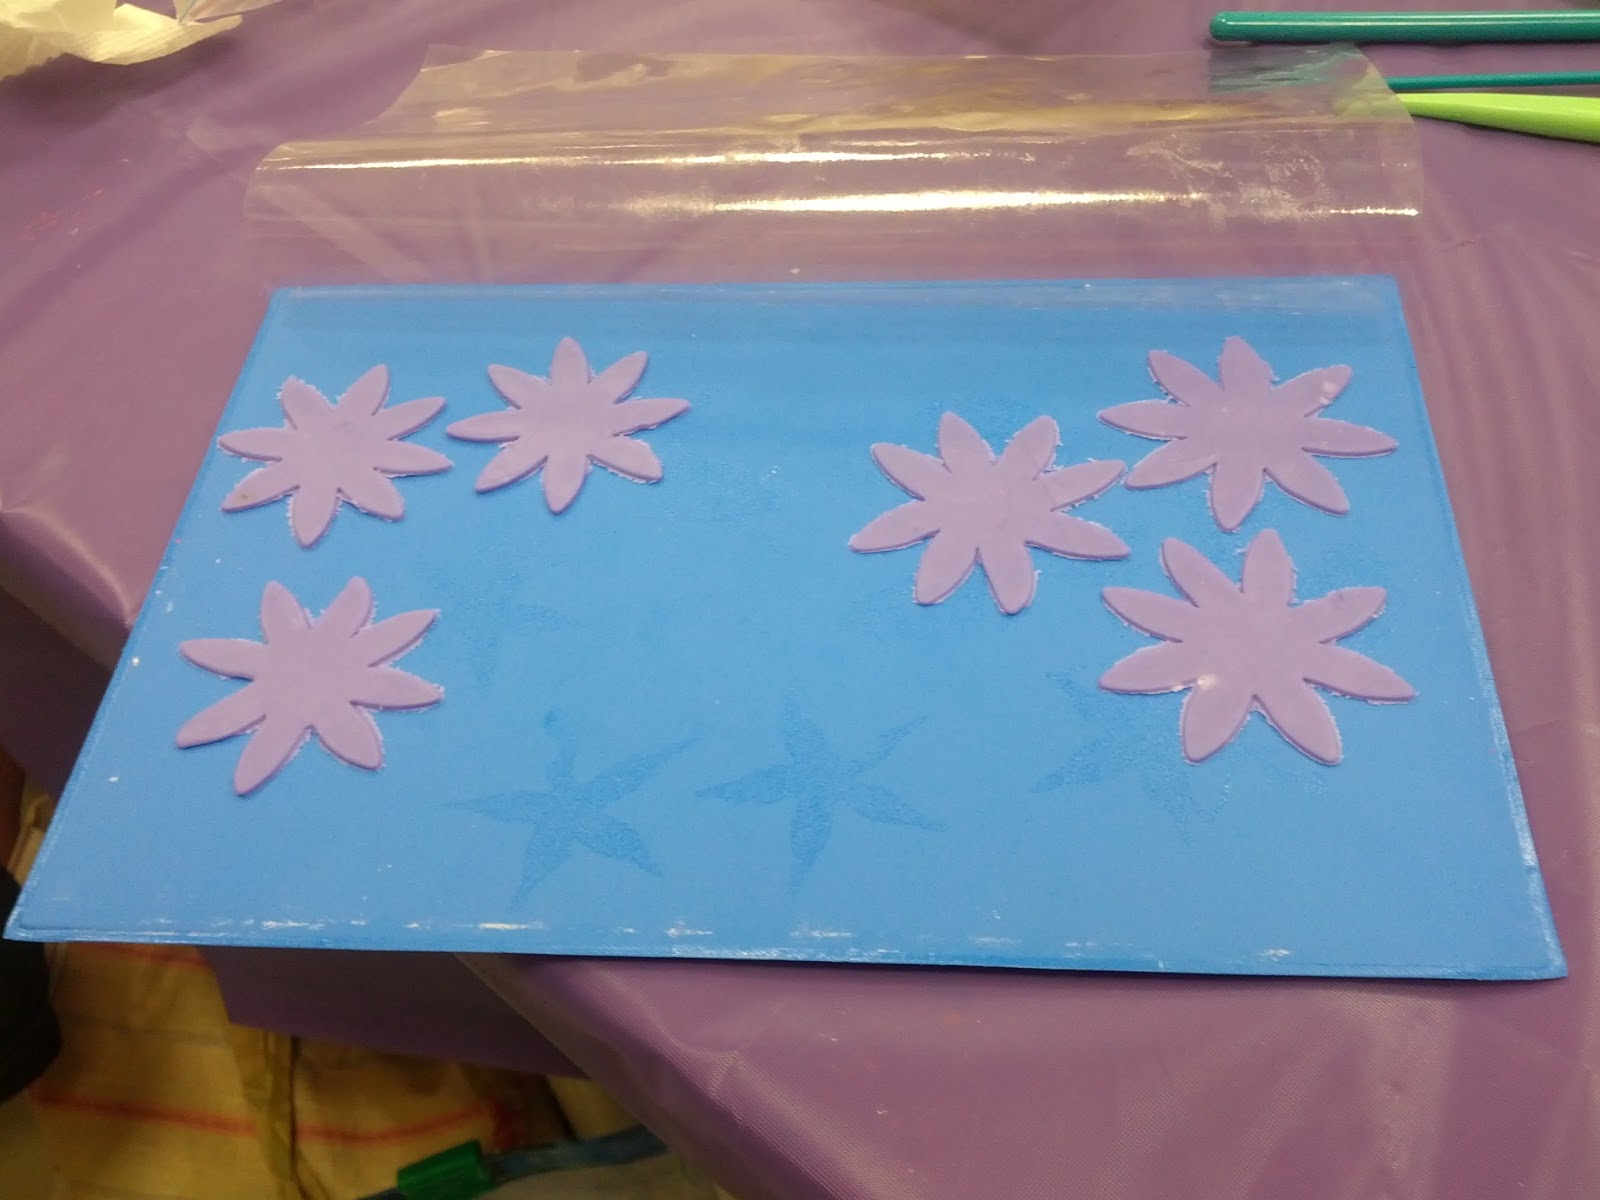
Mums
Finally we made the mums. These were made with the colours gum paste and fondant mix. We had to cut out six of the daisy flower shapes (both sizes), as we needed three for each flower.
Next we took four of the large flower shapes and placed them in the forming cups (since we only had three forming cups, we had to use one of the cutters as the fourth).
While those dried, we started assembling the mums. Starting with the small flowers to the largest. Allowing the first flower to completely wrap the center (we used the small ball on a noodle we made in the first class) and then slowly letting the next flower remain a little more open. This way makes them look a little more like water lilies. The teacher liked them more than how they look in the book, because she thinks the book's way makes it look like a cabbage. I tried both out to see how I liked them.
 |
Used the veining tool to give the petals dome definition and
help them hold a bit better. This one got a little away from me
in the one spot. |
 |
| The "water lily" looking one is the complete one. |
 |
| Here is the one that looks more like the one in the book. |
 |
My creative way of getting them to stay in the forming cup
with the noodles sticking out. |
That's it! Even though it felt like less work, the time still went by quickly. Next week we are bringing in cakes to decorate. John came up with an idea for mine last night, so we'll see how it turns out! You'll have to tune in next week :)