Thursday, September 27, 2012

My Garden - Part 3 (2012)

The conclusion of my three parter on my garden.  I feel like this three parter has been a little weak because I've been tired and just putting a lot of pictures in, BUT the best way to explain how my garden looks is with pictures :)

The spring of 2010 we put in a brick walkway from the front stoop to the end of the driveway.  At the front stoop, there was some 'dead space' which we decided to put a flower box instead of ripping up the asphalt and laying bricks.  This spring (the May long weekend to be exact), John finally made me that flower box.  I love it!  It looks exactly like something my Poppy would have made.  Right down to the way we painted it (we used left over paint from our basement and just slopped it on :) )


Left and below, you can see the wonderful box and John hard at work putting the soil in and evening it out.  It took something like 3 bags of soil.


Here it is all filled in on the right.  I planted 4 bleeding hearts (one in each corner), a fucshia in the middle and then some annuals in between.


Next, we decided to tackle under the tree in the front.  I began this project last summer as it had these ugly garden rocks and very pathetic hostas underneath.  So last summer I cleaned up all the rocks and put mulch down to just cover the dirt.  This summer we put new soil down and planted spotted dead nettle, two different varieties: pink pewter and anne greenway (which in my head I always saw Anne of Green Gables :D).

New soil, plants all ready to go in the ground!


After the tree, we tackled the lovely weigela bush.  I was tired of the stones around it that kept sinking into the ground.  So we placed some of the leftover bricks from the walkway around it, which just made it look so much nicer!


 This year we did not do any cucumbers (YES!), but instead I did herbs.  Below is a picture of them after they were planted.  I forgot to take pictures of them as they grew.  I will try to get some over the next couple weeks because those bad boys grew like crazy!  Got me a whole pile of dill and chives for the winter.


 Below is the backyard garden after everything is first planted.  I didn't have to plant much this year, as the dianthus I planted last year returned this year!  Beginning in March!  And I thought that it was an annual...


Here is a progression of my flowers over the summer.  The pictures below were taken in mid-July.


The pictures below were taken in late August.


These have spread even more now)

Look how lovely it's filled in.  We had to trim the lower branches
back, as they were getting in the way of mowing the lawn. 
 
The rose bush has outdone itself this year.  It's the highest it's ever been!

I added a little something for fall.  I had to have my fall mum, they are so beautiful!


Wednesday, September 26, 2012

My Garden - Part 2 (2011)

Yesterday I began what will be a three part series on my gardens.  I have really enjoyed having a garden of my own, as it was something I always dreamed about when I was younger, following my mom around while she was planting her flowers and helping to water the plants with my little one cup watering can.  Let's look at my garden from 2011.

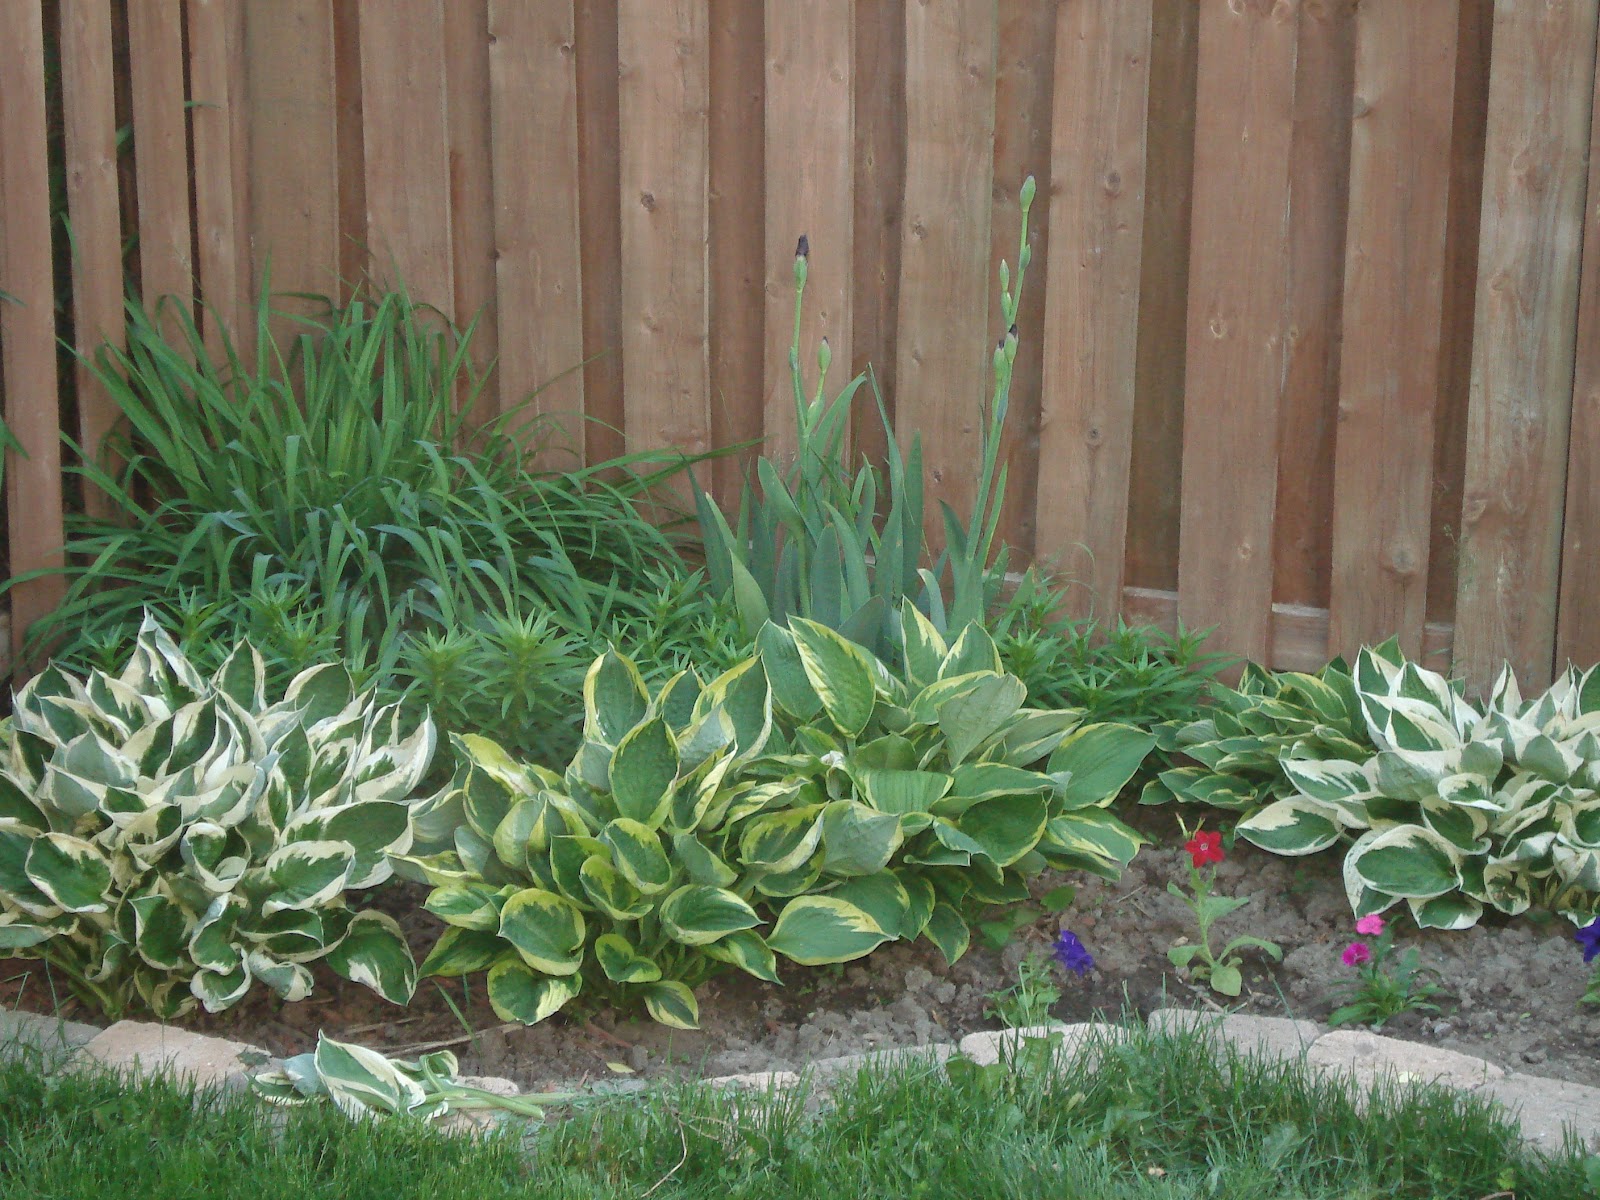
 Starting off in 2011, I decided that I was going to go with the "less is more concept".  The flowers in 2010 got really big and out of control, so I thought that if I put fewer flowers, it would look less like a big mess of flowers and more like a lovely garden.  Here are a few pictures of it after everything is first planted in the spring.


 The picture on the right is of a beautiful iris which did not bloom in 2010, meaning I did not know it was even there.  I didn't know what it was until I took a picture and got my mom to tell me what it is.  Isn't it pretty?
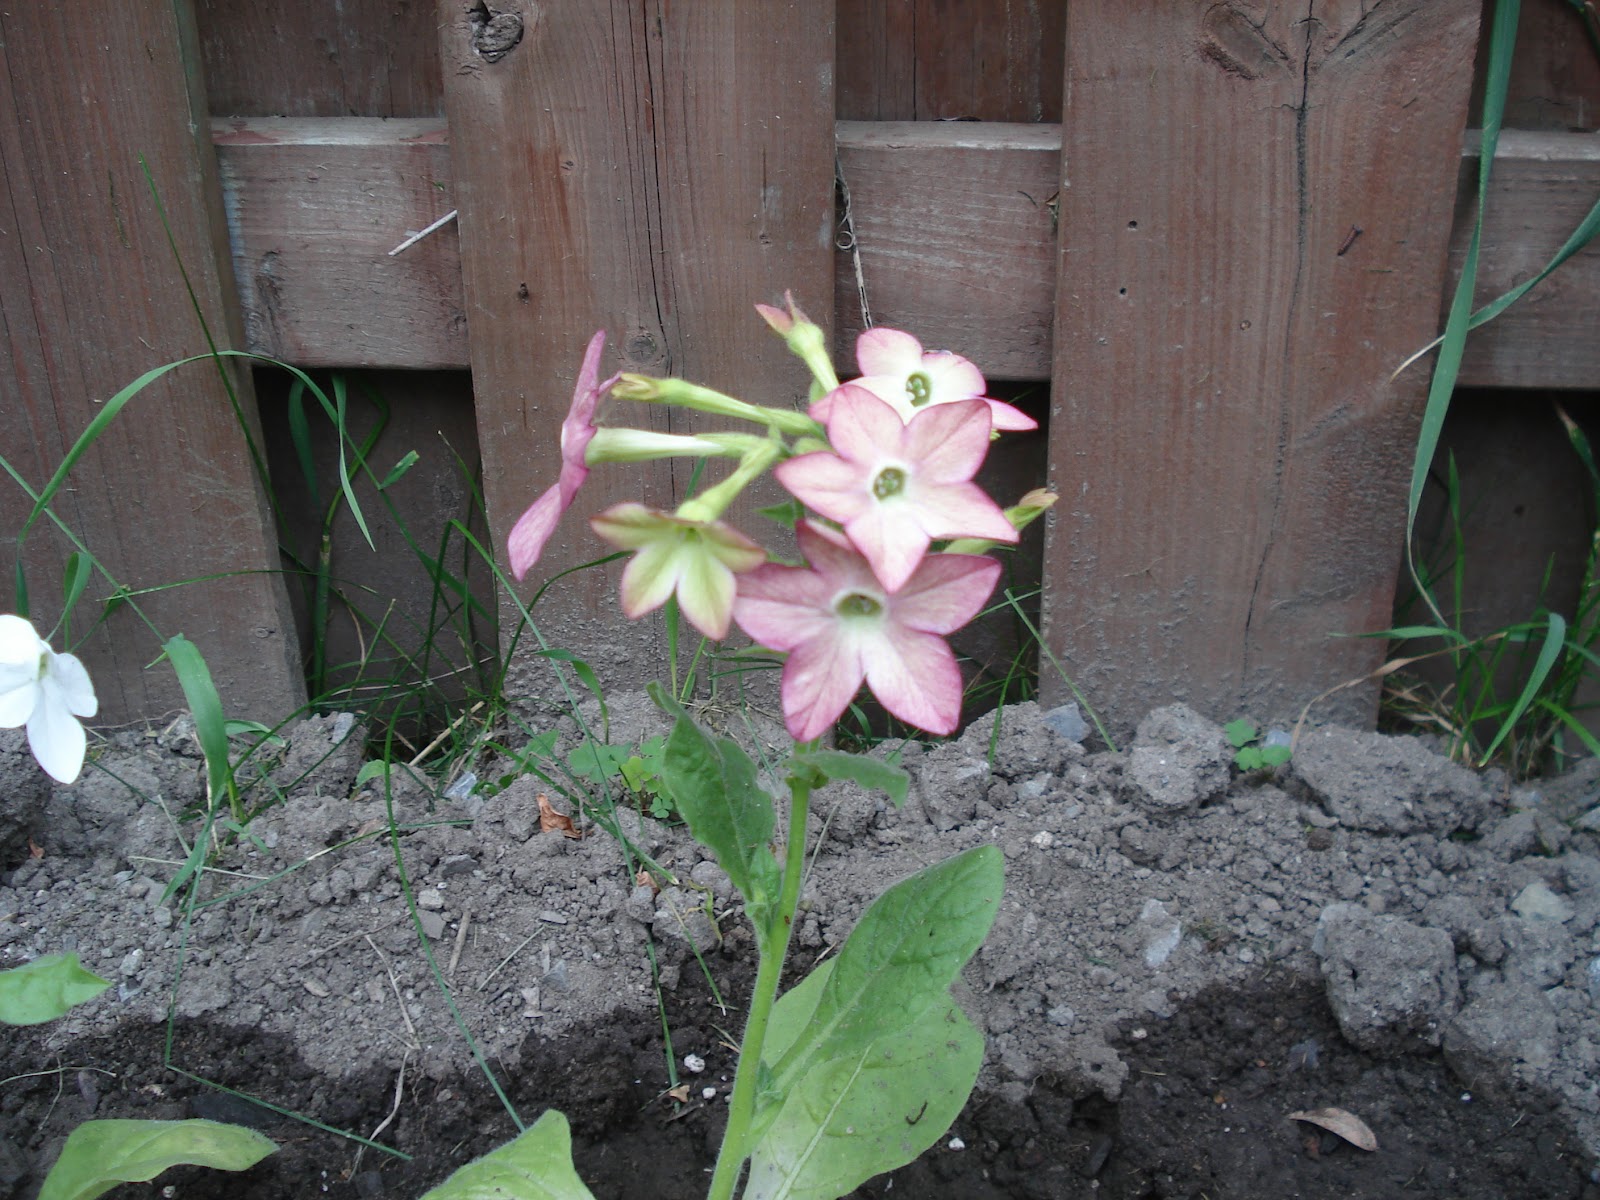
 The flower on the left is called 'Nicotiana'.  I bought it because it had some different colours, including a green flower, and had a different shape, more of a star shape.  I later found out that it can product tobacco.

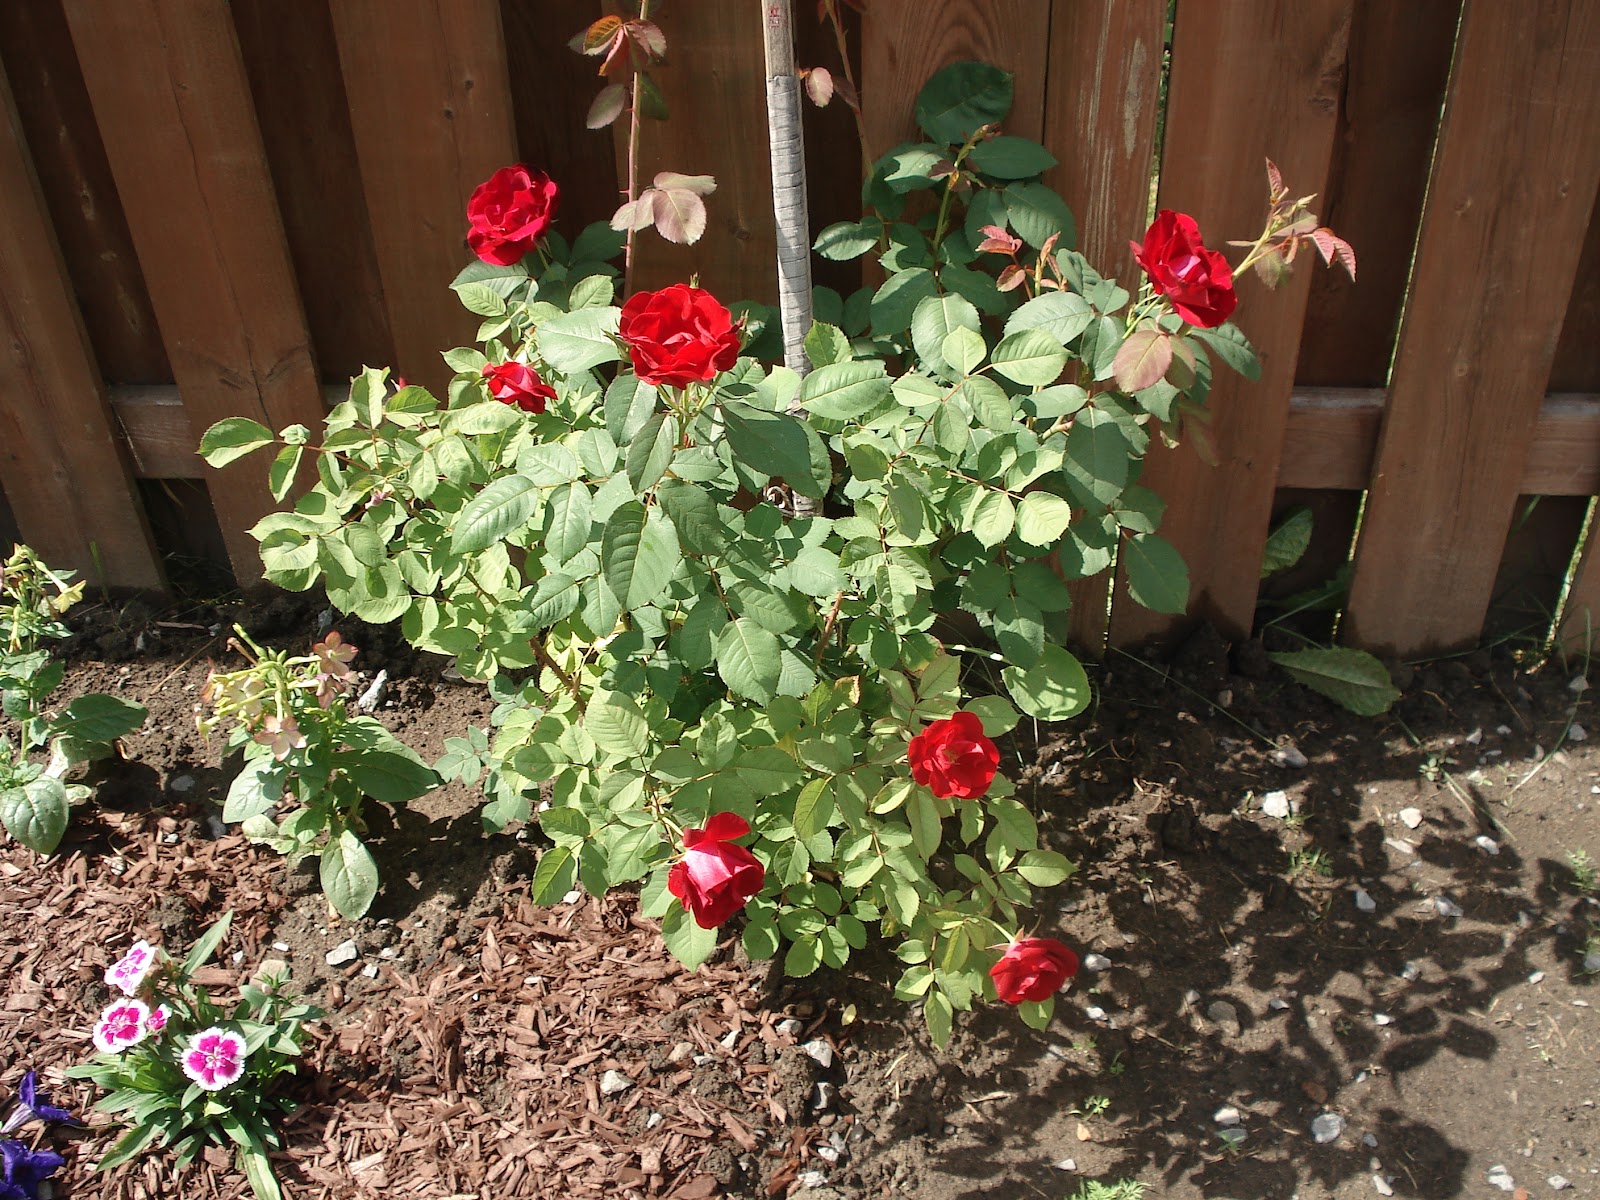
                                     Here are two pictures of my rose bush taken within a week of each other.


We grew some carrots and cucumbers again in 2011, apparently neither of us hadn't had enough of cucumbers.  Or at least John hadn't has he planted a whole package again...


This summer I decided to put mulch down in my garden.  I don't remember my mom ever using it, so I never really thought about using it, but my sister-in-law made a good case for it and I turned out to really like it, although it doesn't seem to cut down on the weeds as much as I would like. Here are some pictures of it mulched with the cute lady bugs my sister made me as a bridal shower gift.


Here my garden is later on in the summer.  It flourished quite well and filled in very nicely.


Here the garden is near the end of the summer.  Note the rose bush climbing its way up the fence and cucumber plant taking over the backyard...


That's it for 2011.  Sorry to the lack of words, I'm too tired to think of anything exciting, so I'm letting the pictures do the talking.

Tomorrow - 2012!

Tuesday, September 25, 2012

My Garden - Part 1 (2010)

I have been really working at my gardens for the last few years since we moved here.  The first summer (2010), my mom helped me change the gardens in the backyard, from two small gardens to one large garden. See here...

I don't have any before pictures, but in the picture on the right, you can see that one garden was in the left hand corner, where the majority of the plants are.  In the photo below, the other small garden was against the fence just behind the clothes umbrella.  This small garden I decided I wanted to get rid of because I felt it was a pointless spot and would rather have a garden that ran along the fence, so I could see it (the other one was blocked by the hot tub).

You will see above the massive amount of hostas.  The woman who lived here before must not have been a gardener because she had hostas everywhere.  There were some coming up in the small garden.  Mom and I thought that we had got them all, but like a week later, I found more growing...I had about 8 or 10 to begin with...let's just say there are way less than that.

We ended up using the existing stones to border the garden, but found our we were too short, so we ended up getting the same type in a different colour and alternating them along the the garden.


We also fixed up a plant in the front, called a weigela, which was not looking so great, but this a little TLC it turned into this...


As the summer progressed, my garden really blossomed due to some wonderful fertilizer and great weather. Note the size of my rose bush, a graduation gift from my Nanny.

Middle of the summer, the flowers loved the fertilizer

As did the cucumbers...although I think it was
planting a whole package of
cucumber seeds that really did that one

Late summer/early fall - The rose bush made it over the fence!


Part 2 - 2011 summer gardens tomorrow...

Sunday, September 23, 2012

Peach Crisp

My weekend without John went by fairly quickly and productively.  I was able to clean the house yesterday and do a few extra cleaning type things (clean up my garden, clean out and organize the bathroom cabinets, pack away my summer clothes, bring out the fall clothes and get rid of some jeans).  Today I was able to relax and enjoy some time with God.  It was such a beautiful fall day.  I love the changing of the seasons and right now I am loving the fall weather, especially after the hot hot summer we had.  I just want to be outside going for walks and bike rides and be inside baking!  It's the perfect time to have the oven going with lots of fall treats.  Normally at this time of year I am baking lots of apple crisps, well all year round I do that, but this is the time of year that apples are being harvested, so you tend to make them a bit more now.  But today I had some peaches that I needed to use up, so I thought that I would try a peach crisp, something I've never made before.

Since I've never made a peach crisp, I learned a few things about baking with fresh peaches today.  I've never had to peel them before and began with a paring knife and was just going to go at them, but as I started I realised that it was probably going to take me forever to do it that way.  So after looking up online (and a little advice from my Nanny who I was talking to on the phone), I decided it would be better to boil them and then dunk them in ice water to get them off.


Now I'm not sure if I did something wrong in this process, but it seemed to take forever to get the skin to want to pull off completely.  I finally ended up taking a knife to a couple of them, but it was still probably easier than how I was originally going to do it.  Most of them ended up having the skin pull off, even if it was in sections.

The first of many peaches to be peeled.

Once the peaches were done, everything else went easy, just mixed up the topping, put it on and let it bake.  I showed John the finished product over the webcam tonight and he said the only problem with me making it while he was gone was that he couldn't have any.  Looks like I'll be making another one when we get back from Hawaii, which I'm fine with because this recipe was delicious!!

mmmmm good :)

Juicy Peach Crisp
(from Allrecipes.com: http://allrecipes.com/recipe/juicy-peach-crisp/detail.aspx?event8=1&prop24=SR_Title&e11=juicy%20peach%20crisp&e8=Quick%20Search&event10=1&e7=Home%20Page)

Ingredients:
6 fresh peaches - peeled, pitted and sliced
1/2 teaspoon almond extract
1 cup all-purpose flour
1 cup white sugar
1/4 cup brown sugar
1/2 teaspoon ground cinnamon
1/4 teaspoon salt
1/2 cup butter

Directions:
1)  Preheat an oven to 375 degrees F (190 degrees C), and grease an 8 inch square baking dish.
2)  Place the peaches in the bottom of the baking dish, and sprinkle them with almond extract.
3)  In a bowl, combine the flour, sugar, brown sugar, cinnamon, and salt. Cut the butter into the flour mixture with a pastry cutter until the mixture resembles crumbs.
4)  Sprinkle the flour mixture in an even layer over the top of the peaches, and bake in the preheated oven for about 45 minutes, until the peaches are bubbling and the topping is browned.

Saturday, September 22, 2012

The Bed the John Built

I have been very bad at blogging lately.  We've been so busy as of late that I just haven't had (or made) the time to sit down to write some blogs.  But I'm going to change that now!  John's off to Hawaii today for work (I know, rough job he has), so my plan (or hope) is that I can blog every day he's gone AND while I am down in Hawaii too (as I'm joining him next week :) ).

So, blog #1 - the bed the John built.

In late July we finally decided that we needed to buy a new mattress.  We had been talking about it probably since we first got married, but put it off because it was going to be a big purchase.  More recently we had been talking about it more and had toyed with the idea of asking our families for money towards a new mattress for Christmas, but the last week of July we both had had enough of bad sleeps and John was having a hard time getting to sleep (which does not happen for him), then finally we decided we just needed to do it.  So we went out mattress shopping and bought a lovely new high mattress.  I say high because our old mattress is like 6 inchs high...

 Here are two pictures of our Ikea bed frame with both mattresses in them for comparison.
Low Ikea bed

New Mattress in Ikea bed
There is such a huge difference that for the first couple of days I felt like I was going to fall out of bed!

Now along with this new mattress, we also needed a new bed frame, as our Ikea one has been moved twice in the rain and particle board doesn't stand us as well after that.  So John decided that he wanted to make a bed.  He's has a strong desire to learn to woodworking and would like to make furniture for us, so this was the perfect chance for him to get started.  Plus beds are easy to start off with.  He had to stay home to wait for our mattress to be delivered, so he took the day off so he could make the bed.  Here is a progression of his work throughout the day (he posted them on Google+ for me to see how it was going while I was at work).


The whole thing came together quicker than I expected, which was great because it meant we got it up to our room quicker.  The only downside to the whole thing is that I have to literally climb into bed, because it ended up being a bit taller than he expected.  But as I've gotten used to it now, I'm more ok with it because it is so much better than practically getting up off the floor.

Here is a picture of the final product.  Not bad eh?


I am so proud of him for how it turned out.  I love that he likes working with his hands and wants to make things.  It reminds me of my Poppy who made many different things for me throughout my life which have all been so special.  I'm excited to see all the future things John will make and for him to grow in his skill, for now I think he's off to a great start!  Next step, bedside tables, so that we don't have to get our of bed to open the bottom drawer!