We started off practicing making flowers and different shells which are used for borders. I found them all fairly easy except for the last shell. I just could not figure out how to do it properly. I think I'm just going to have to keep practicing at it. Here are pictures of my practice boards.
 |
| I had a lot of difficulty with this one, I was starting to figure it out at the end once the teacher came over and gave me some tips. |
 |
| The base and center of the flower completed. |
 |
| First completed flower. You can't really tell in the picture, but the center is teal and the rest is blue. |
 |
| My friend was having issues with her icing being too stiff, this is her pile of messed up icing. |
 |
| Two completed flowers! The one on the right started looking more like a sun than a flower. |
 |
| My friend's flowers...her icing would not co-operate with her. |
Next we moved onto learning and practicing making leaves. My green icing was a little too stiff, so it was not really giving the desired affect, as it would not end in a point but just end, although part of that may have just been me...
Next we moved onto learning to fill the cupcakes!! I was very excited for this. It was really cool. We have a very long tip this you put on the bag and just stick it in the cupcake and push until you start to feel it expand, then left go and lift out. The teacher was talking about the need to be careful when doing this because she's had cupcakes explode on her and then I asked her if someone in her class always makes a cupcake explode, which she said usually yes The class was real "happy" that I asked that, since we were all only about half way through filling our cupcakes :) Luckily no one made their cupcakes explode!
 |
| mmmm lemon filled cupcakes, with one chocolate one for my sister :) |
 |
| The pom-pom flowers and the swirl cupcakes on the right. |
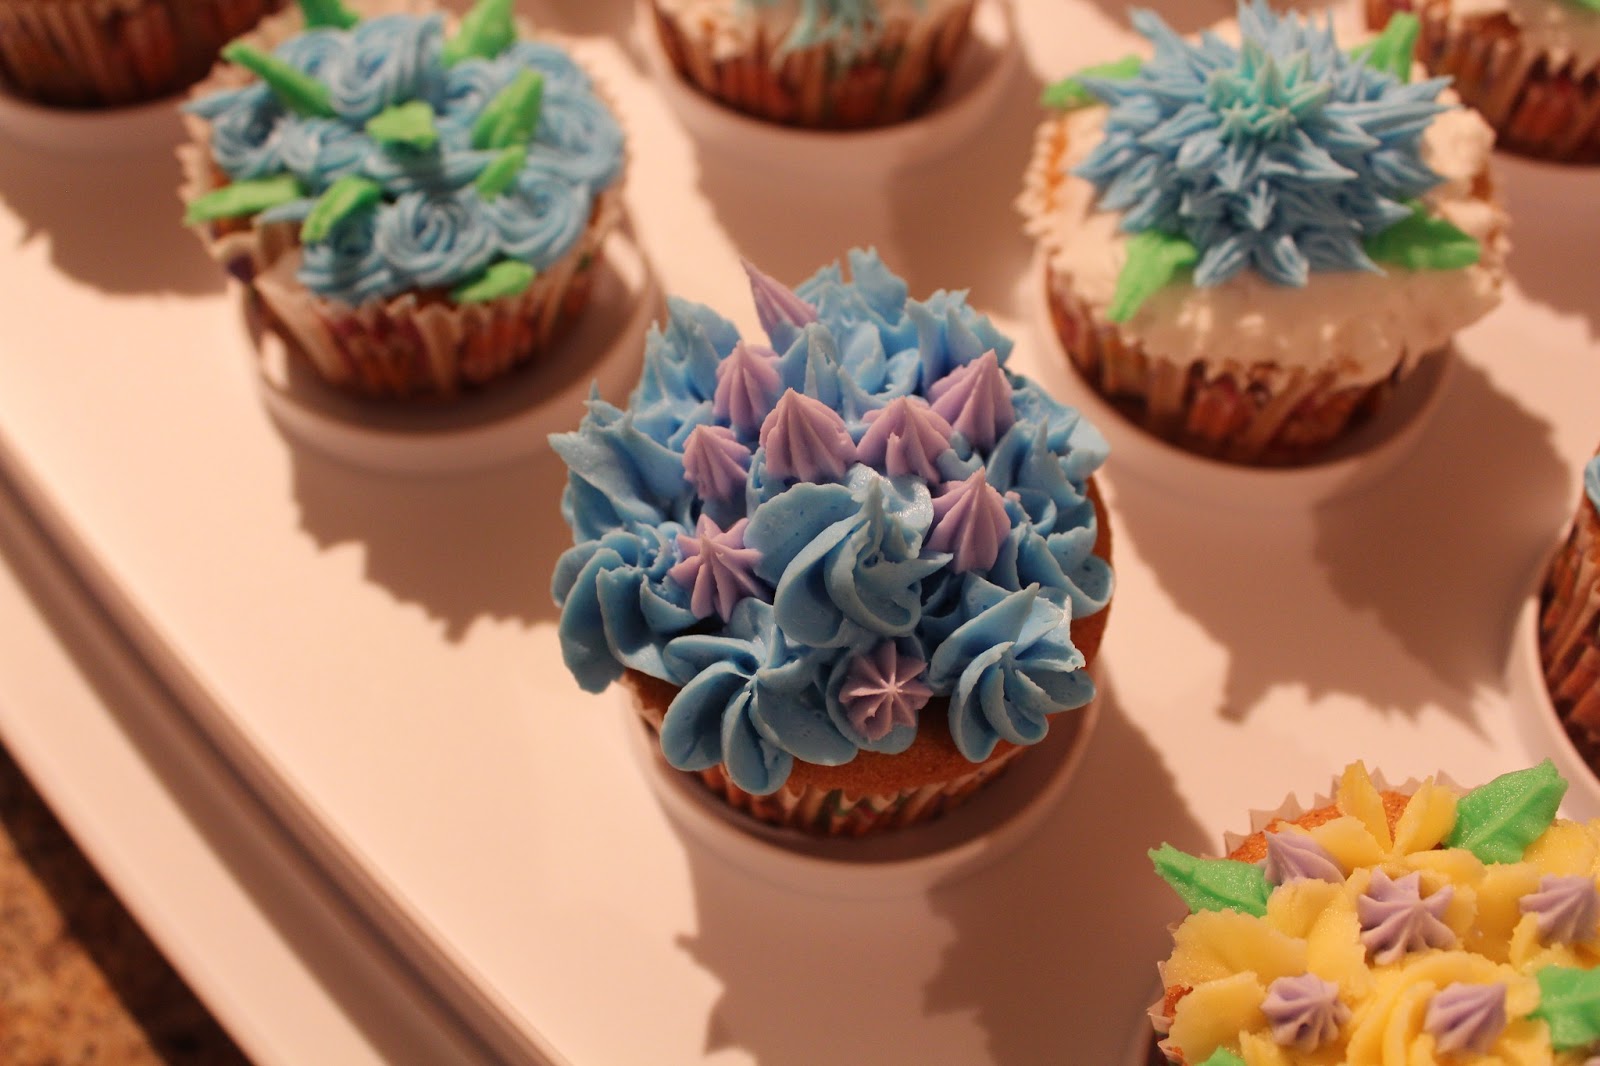
After this, she let us decorate our cupcakes however we wanted, showing us how to use some what we had learned this class to decorate the cupcakes nicely. Here is my final products...
 |
| Used the shell shape to make it looks like flowers all around the cupcakes. |
 |
| This is the chocolate filled one for Keren. |
I was able to transfer the flowers I made earlier to the cupcakes by using these little plastic scissors that go underneath the flowers and then you close the scissors and pick up the flower. My icing was a little soft so I smushed it a bit, but I was able to just fill in around it and fix it up.
 |
| The hard icing that turn out well and the extra icing I used to try and fix it out...I think it's just made them more sweet in the end! |


No comments:
Post a Comment