I had my second cake decorating class this week. Unfortunately we were away on Tuesday (the normal night of my class), but the teacher has a class on Thursdays which I was able to join to make up for missing my Tuesday night class. This was great, because I was a little sad when I thought that I was going to miss out on the class.
We were back in town by Thursday, so I spent part of the afternoon getting my icing ready and packing my bag. This week we needed a lot more things to take with us, so I had to upgrade from a Loblaws reusable bag to a Sobey's reusable bag. I feel like there is so much to take, but in the end I use almost all of it!
 |
| Bag filled to the (almost) brim. |
 |
| Bird's eye view. |
This week's lesson was very different from the first week's lesson. This week's lesson was completely hands on and the only time we looked at our course book was when someone wanted to see how cake was decorated in the book. This was more of what I was expecting!
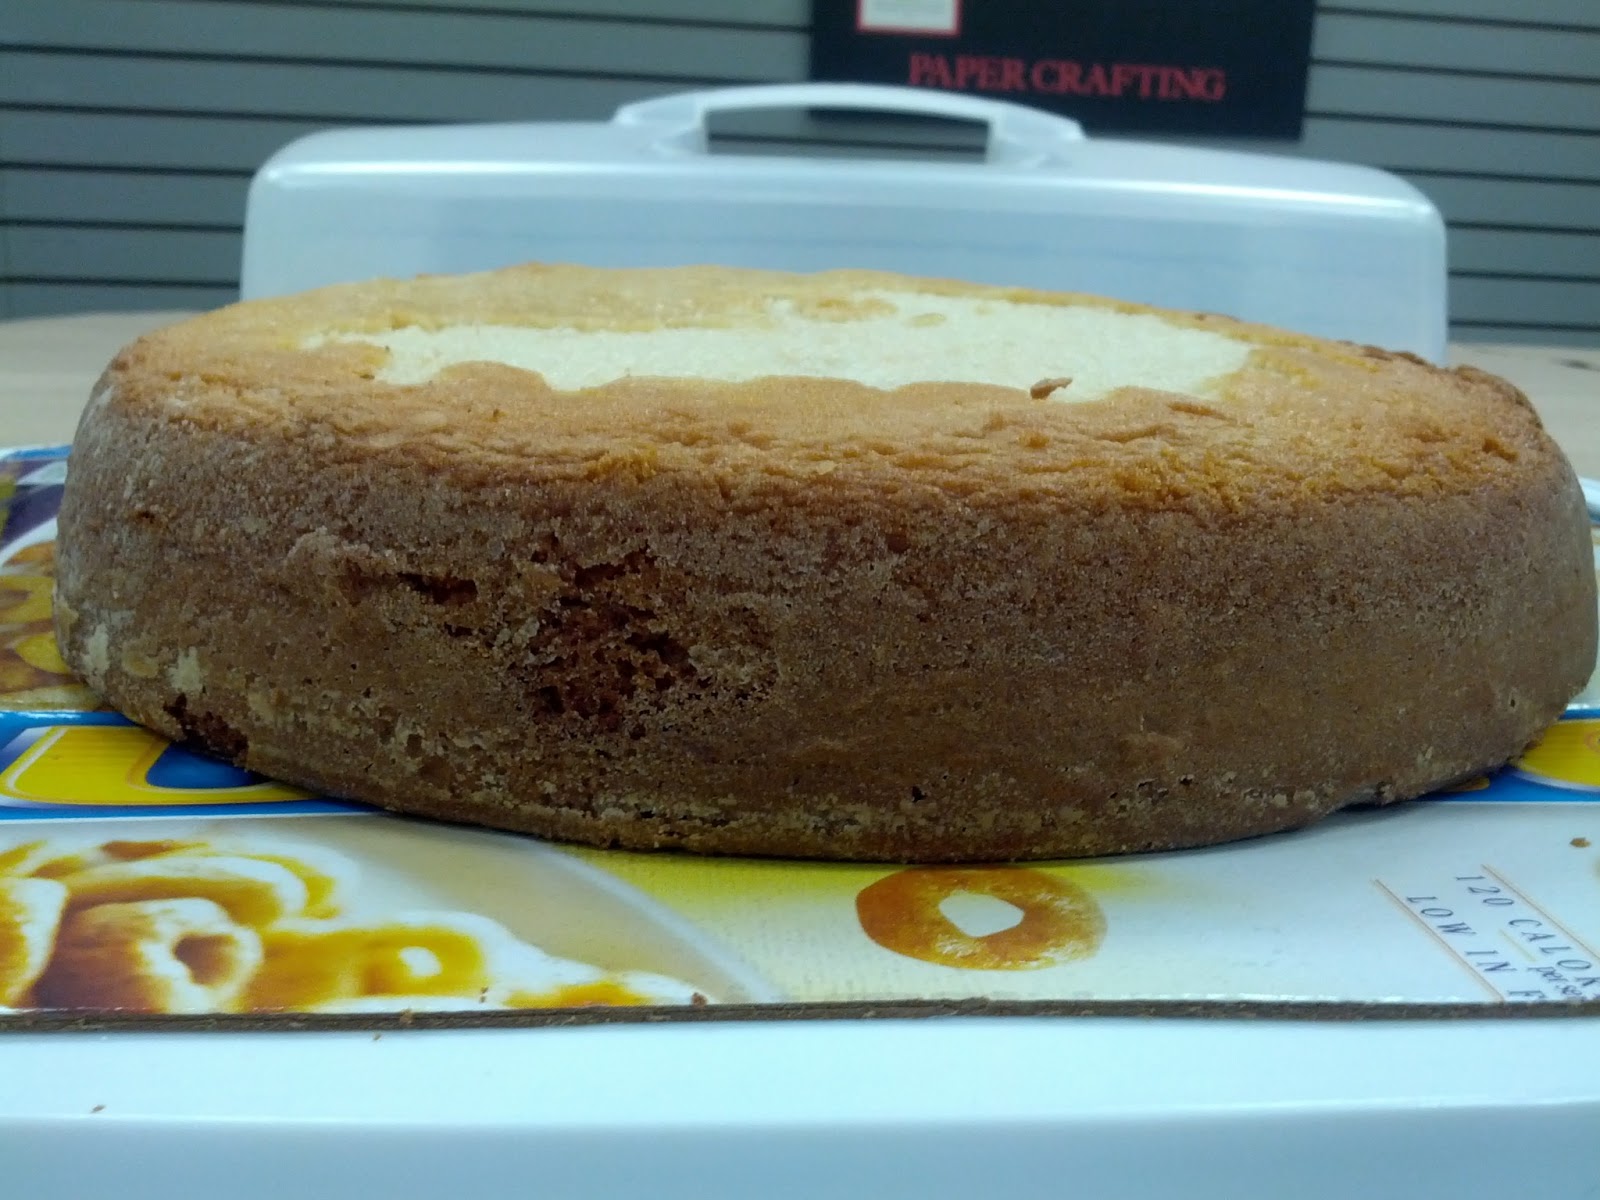
This lesson was learning how to ice and decorate a cake by doing a 3D picture. First, for those who needed to level their cakes or were going to fill their cakes, the teacher let them use her cake leveler. I did not need to level mine, nor was I filling it this week, so I was able to get started on icing my cake right away. With the tips I remembered from the previous week, I barely had any cake bits in my icing, which was great!
After I was done icing my cake, I started on mixing colours for the design. I decided to do a fish and picked out some colours that I knew John would like (teal and blue), and ones that I liked (purple). They ended up being a great combination, which everyone in the class kept commenting on.
 |
I learned how to mix colours from a Pro (that means
you Mom ;) ) |
Before we started decorating our cakes, we practiced using a couple of the tips on our practice boards.
These seem fairly easy to do, the hardest part is keeping your hand steady and the pressure consistent. I'm assuming that will come with time.
After this, we started decorating our cakes. The teacher taught us this technique that involves taking a picture and placing wax paper over top of it then tracing it using clear piping gel (she had her's tinted blue). Then you flip the wax paper onto your cake and press the gel down to get the outline of the design, in my case a fish, on the cake. Then as you start filling it in, you just cover over the gel and no one is the wiser :)


I decided to do the body of the fish in the star shapes, but the fins, eye and mouth are in a bubbley shape, which I do not ever remember seeing before. It looks really cool and, I think, gives it a more 3D effect.
Once the fish was done, I did a boarder around the bottom, I decided to go with the up and down one from the practice board because I wanted to test it out. I ended up putting some purple dots around the side of the cake too to give it some more colour. Here is the final product, which I am quite pleased with!
Next week we get to do cupcakes, which we will be filling! I'm really excited to do this! Tune in next week to see how they turn out!


